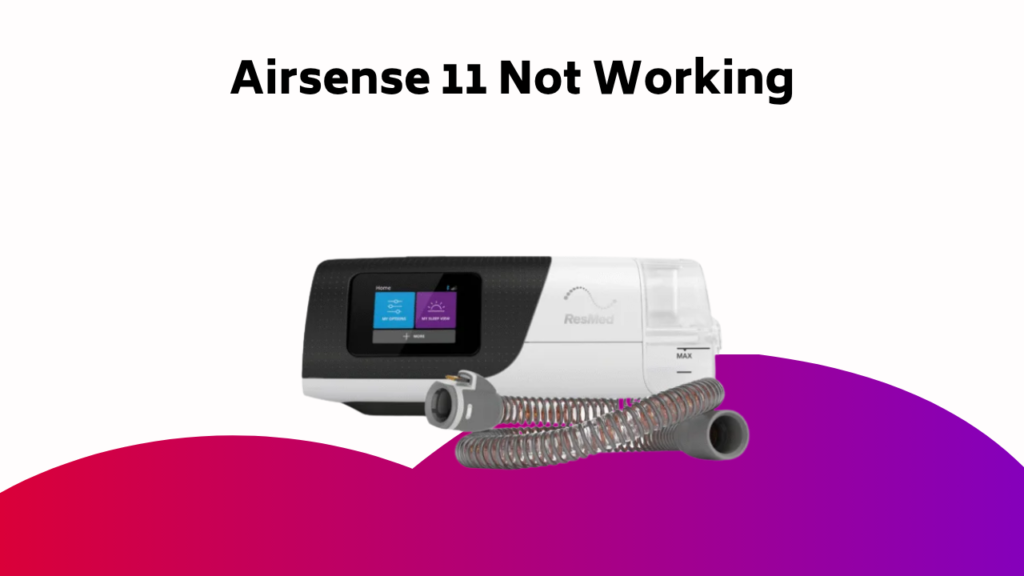
When your AirSense 11 isn’t performing as expected, it’s time to troubleshoot. Start by pressing the power button to reset the device if needed. Then, take a closer look at the humidifier temperature, maintenance, and settings to verify they’re correct. You’ll also want to inspect the humidifier and tube for blockages or damage, and confirm proper connections. But that’s just the beginning – there are more potential issues to investigate, and we’ll guide you through them to get your device up and running smoothly again.
Contents
- Getting Started With Airsense 11
- Understanding Expiratory Pressure Relief (EPR)
- Navigating Device Icons and Features
- AutoRamp and Sleep Onset Detection
- Humidification and Air Pressure Settings
- Data Management and Connectivity Issues
- Troubleshooting HumidAir Heated Humidifier
- AirSense 11 Travel Tips and Precautions
- Warranty and General Information
- Resolving Common Error Messages
- Advanced Troubleshooting Techniques
- Frequently Asked Questions
- Conclusion
Getting Started With Airsense 11
To get started with Airsense 11, verify you have received the device with all its accompanying accessories, including the user manual, power adapter, and any additional components specified in your purchase.
Certify you understand the basics of your CPAP machine, which includes a built-in humidifier and heated tubing.
Fill the water tub according to the user manual’s instructions.
As you begin therapy for sleep apnea, adjust the pressure and humidity level settings to your comfort.
You can also connect your device to the MyAir app to track your progress and receive personalized coaching.
Understanding Expiratory Pressure Relief (EPR)
How does your Airsense 11’s Expiratory Pressure Relief (EPR) feature work to make your sleep apnea therapy more comfortable?
It reduces pressure relief during exhalation, making it easier to breathe out. The EPR setting adjusts the therapy pressure, allowing you to exhale more comfortably.
When you breathe out, air escaping through your mouth is a normal part of the process, as long as it’s within the acceptable leak rate.
Your AirSense 11 machine functions by gradually increasing the pressure during the ramp time, ensuring a smooth transition to the prescribed therapy pressure.
This results in a more comfortable sleep apnea therapy experience.
Your AirSense 11 device features a user-friendly interface with various icons on its screen, providing you with essential information at a glance.
These icons indicate wireless signal strength, battery life, and humidifier status, among others. Refer to your patient user guide for detailed descriptions of each icon.
The built-in HumidAir heated humidifier can be adjusted to provide ideal humidification, and regular cleaning and maintenance are necessary to guarantee superior performance and hygiene.
AutoRamp and Sleep Onset Detection
The AirSense 11 device’s AutoRamp feature is designed to make your therapy experience more comfortable by starting with a lower pressure and gradually ramping up to your prescribed level.
You can set a ramp time of 5 to 45 minutes, allowing you to customize your therapy experience.
With AutoRamp and Sleep Onset Detection, the device monitors your breathing patterns and body position to detect when you’ve fallen asleep, then ramps up to your prescribed pressure at the ideal time.
This guarantees a comfortable transition, improving overall therapy compliance.
Humidification and Air Pressure Settings
As you settle into your therapy routine, you’re likely to appreciate the AirSense 11’s advanced humidification and air pressure settings.
The built-in HumidAir heated humidifier reduces dryness and discomfort, and you can adjust the humidification level to your liking. Remember to clean and maintain the humidifier chamber regularly to guarantee peak performance and hygiene.
You can also switch to manual mode using the Climate Control feature to customize the humidity level and tube temperature. Additionally, the AirSense 11’s air pressure relief features, such as EPR, provide added comfort during exhalation.
Data Management and Connectivity Issues
Staying connected to your therapy data is crucial, and the AirSense 11 makes it easy.
Your device automatically uploads data to AirView, ResMed’s cloud-based patient management system, one hour after a session concludes, as long as you have cellular coverage and aren’t in airplane mode.
If you live in an area with poor signal strength, you can use a ResMed SD card to store data, which can be uploaded to AirView when returned.
Certify your device isn’t in airplane mode, and check your Provider and Network Type for peak data transmission, minimizing connectivity issues.
Troubleshooting HumidAir Heated Humidifier
What’s causing your HumidAir heated humidifier to malfunction?
If you’re experiencing issues with your AirSense 11 CPAP’s heated humidifier, check the following:
- Heated tubing: Certify it’s properly connected to the humidifier chamber and not kinked or damaged.
- Humidifier tub: Check for mineral buildup or scaling, which can affect performance.
- Tube Temperature: Verify it’s set correctly, as incorrect settings can impact humidification.
- ClimateLineAir: Guarantee it’s properly connected and functioning correctly, as it regulates climate control.
If you’re still experiencing issues, consult your user manual or contact a healthcare professional for assistance.
Make sure to clean and maintain your humidifier regularly to prevent malfunctions.
AirSense 11 Travel Tips and Precautions
When you’re preparing to travel with your AirSense 11, you’ll want to make sure you’re properly prepared to avoid any issues.
First, you’ll need to take care of some travel preparations, such as packing the right accessories and checking with your airline.
Additionally, you should also perform some device maintenance to guarantee your machine is in good working order before you leave, and verify that all components are functioning correctly.
Travel Preparations
Many AirSense 11 users take their devices with them on trips, and for good reason – uninterrupted therapy is essential for a restful night’s sleep.
When traveling with your AirSense 11, make sure to:
- Pack your device and accessories, including the humidifier chamber and ClimateLineAir™ heated tubing, in a protective case.
- Enable automatic climate control to adjust to changing environmental conditions.
- Insert the humidifier chamber and use the insulated tube wrap to prevent condensation.
- Scroll to the top right corner and tap the airplane icon to enable Airplane Mode when flying.
Device Maintenance
After verifying your AirSense 11 is ready for travel, it’s just as vital to maintain your device properly to guarantee peak performance and hygiene.
When you’re not using your CPAP, make sure to take it apart and wash the water chamber in a tub of warm soapy water. Rinse thoroughly and let it air dry to prevent bacterial growth.
Set reminders to clean your device regularly to maintain superior performance. Using the AirSense 11’s built-in icon, check the device’s maintenance schedule to stay on track.
Warranty and General Information
You can find detailed warranty information for your AirSense 11 device on the ResMed website, which outlines the terms and conditions of your warranty.
Before you start troubleshooting, make sure you have the following information handy:
- Your device’s serial number (SN) and device number (DN), found on the label at the back of your AirSense 11.
- The ResMed website, where you can access warranty information and customer support.
- The HumidAir heated humidifier, which is built into your device and designed for positive airway pressure therapy.
- The Oxygen Connector Port and Oxygen Side Port Connector options, if you require oxygen therapy.
If you need additional assistance, don’t hesitate to contact ResMed Customer Service.
Resolving Common Error Messages
Your AirSense 11 device is designed to alert you to any issues that may affect its performance or your therapy. If you encounter an error message, take a look at the table below to identify the issue and follow the troubleshooting steps.
| Error Message | Solution |
|---|---|
| Tube Temperature | Check the Heated Tubing for AirSense connection and verify it’s not blocked. Adjust the control and tube temperature settings if necessary. |
| Mask Fit Issue | Use the Mask Fit feature to adjust the mask fit. Consider adding a CPAP chinstrap for a better seal. |
| Humidifier Chamber Issue | Confirm the humidifier chamber is properly filled and seated. Press the power button to reset the device if necessary. |
Advanced Troubleshooting Techniques
Since the AirSense 11 device is designed to provide advanced therapy features, it’s essential to troubleshoot issues that may arise.
To take your troubleshooting to the next level, follow these advanced techniques:
- Check the humidifier temperature: Verify it’s set correctly to avoid issues with humidification.
- Inspect the tube and mask: Look for any blockages or damage that could affect pressure and airflow.
- Verify power connection: Make sure the machine is properly plugged in and receiving power.
- Review humidifier maintenance: Regular cleaning and maintenance are vital for peak performance and hygiene.
Frequently Asked Questions
How Do You Reboot Resmed Airsense 11?
To reboot your Resmed Airsense 11, press and hold the power button for 5 seconds to enter sleep mode, then release and press again to restart, resolving issues like device freezing, CPAP malfunction, or power button issues.
What Does Flashing Snowflake Mean on Resmed CPAP?
You’re wondering what that flashing snowflake on your CPAP means? It’s likely a Winter icon alerting you to Cold temperatures. Check your Humidity setting, as it might be triggering Climate control’s Special mode, causing a Frosty display and potential machine malfunction, especially during Night mode.
What Is Device Diagnostic on Resmed Airsense 11?
You’re wondering what Device Diagnostic is on your ResMed AirSense 11. It’s a built-in feature that helps you identify and fix common issues, like device error codes, sensor problems, and airflow issues, using diagnostic tools and providing guidance on mask fit, machine alerts, and therapy modes.
How Do You Reset the Pressure on a Resmed Airsense 11?
You’ll need to access the Clinical Menu by pressing and holding My Options and My Sleep View, then navigate to Settings to adjust the pressure setting, ensuring proper Airsense calibration and Cpap maintenance, under healthcare professional guidance to avoid airflow issues.
Conclusion
You’ve reached the end of this troubleshooting journey, and like a lighthouse guiding you through treacherous waters, these steps have illuminated the path to resolving common AirSense 11 issues. By following these guidelines, you’ve taken a proactive stance in maintaining your device and ensuring a smoother sleep experience. Remember, regular maintenance is key to preventing malfunctions, so stay on top of it and sleep easy tonight!